Ok…after a busy family weekend I am finally sitting down to document a Visual Studio – LinkedIn Application. I will offer several solutions here. Here is the overview of the steps required:
- Create API key for the solution at your LinkedIn Developer account.
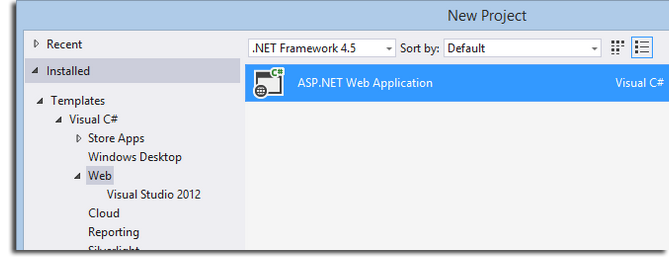
- Create an ASP.NET solution for a Web Application.
- Add references.
- There maybe an Error message:
- MVC: Login Failure. Unsuccessful login with service.
- WebForms: External login LinkedIn failed.
We will tackle these later.
The app should retrieve their Name, ProfileURL, Email Address and most recent Job Title
Lets start at the beginning. With Creating a LinkedIn Developer account. Once done you can setup the Application Keys for your application.
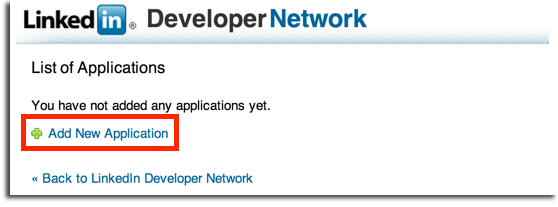
1. Firstly – lets head over to your LinkedIn developer account to setup some new application keys.
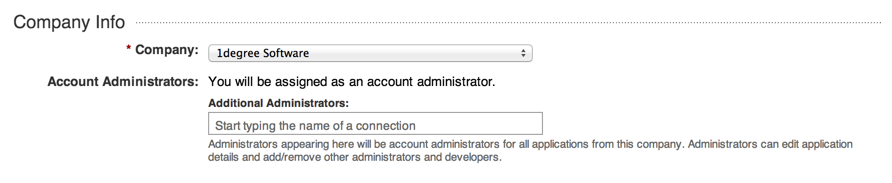
2. Next you’ll need to complete the LinkedIn form to generate the application Keys. The initial part of the form will ask for the company information. Start typing the company name and select it from the dropdown list that populates. If it’s not there you can create a new company by selecting ‘New Company’ from the list. If you don’t have a company page one will be created for you.
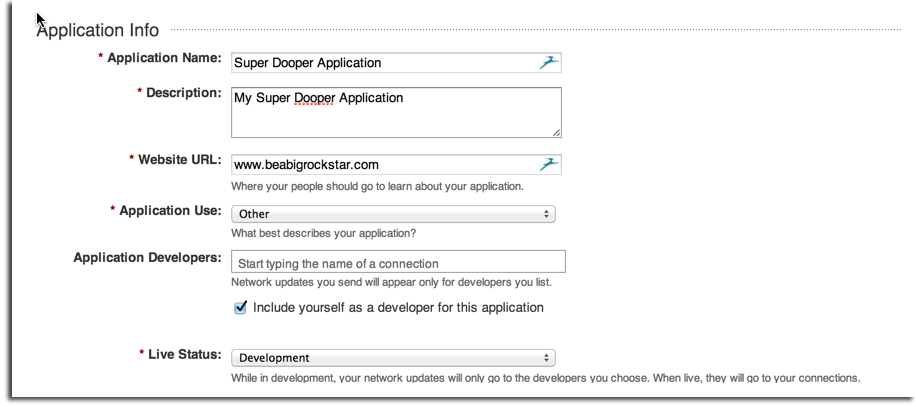
In the next section you’ll need to specify the name, description, website URL and use of your application. Keep the “Include yourself as developer for this application” option checked. Select the status of the application. While you are developing the application you can keep the status as “Development”. In this case any updates posted by the application through the LinkedIn API will only be visible to the developers of the application. To use the application in a production environment set the status to “Live”.
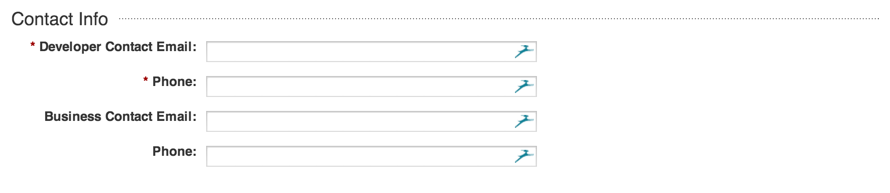
Add the contact details of the person responsible for the development of this application?
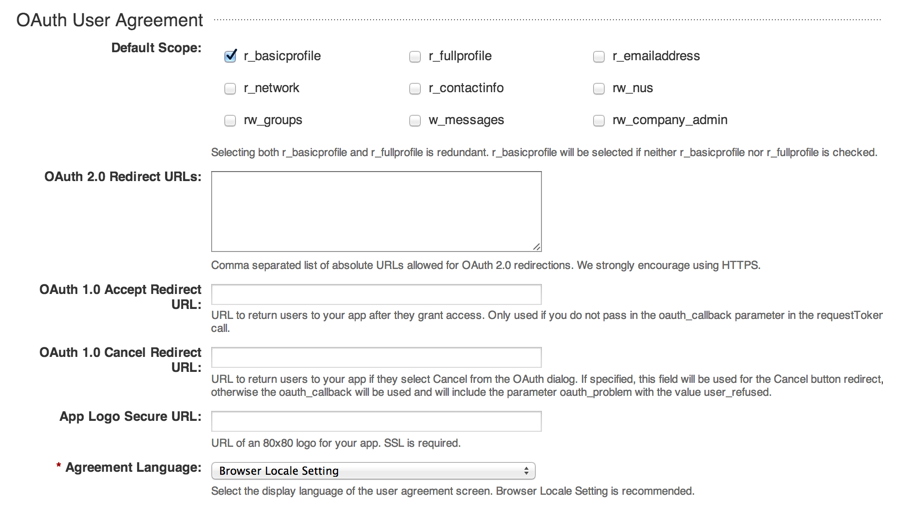
In the Default Scope section select the checkboxes of the LinkedIn information that you want to gather from ther users profile.
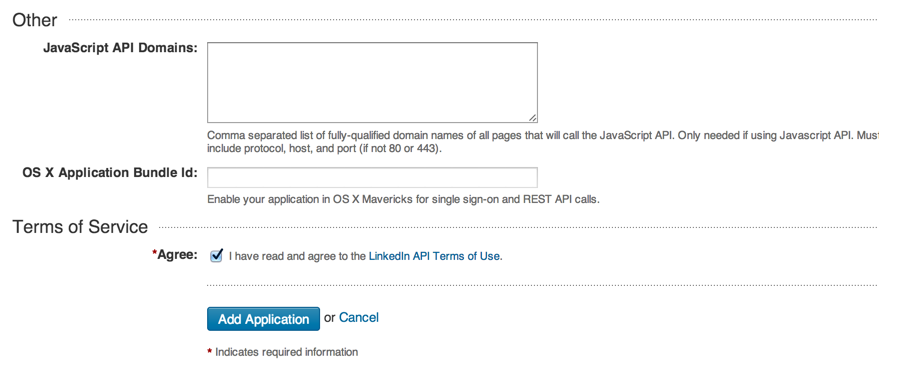
Finally, make sure the Terms of Agreement checkbox is selected and click the ‘Add Application’ button.
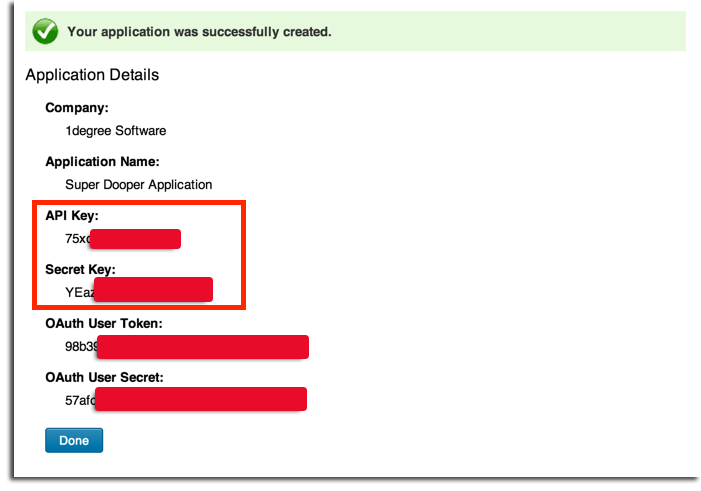
The next screen you will see is the application confirmation screen. You will be presented with the API key and Secret key to integrate within your development suite.
To be Continued…
Next time we will look at the creation of the MVC project and the consumption of the LinkedIn keys within the app
Enabling LinkedIn authentication in your App
Ok it’s time to add the LinkedIn API to our MVC application. For this we will have to create an MVC application in Visual Studio. Go to File > New > Project and select a new “ASP.NET Web Application” and click OK.