
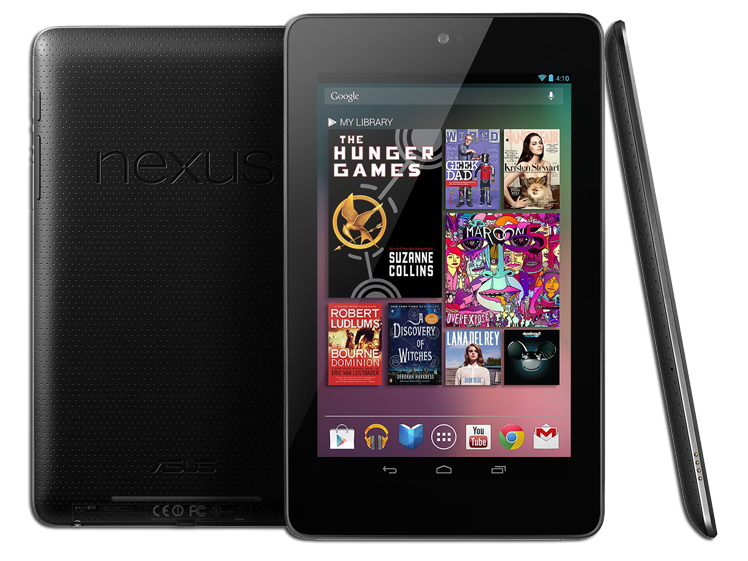
I bought my Nexus 7 in December 2012. It’s a great device and I have used it more than the iPad’s I have been given by clients to do the work they require. However, I have had 2 major OS software failures. One in warranty and one outside. If your device is out of warranty and it looks like it has been bricked (Stuck on the Animated Android Logo) then keep reading. I’ll show you how to fix it.
If your Nexus 7 2012 has not been bricked but it’s seriously slowing down and you want to re-image it then you also need to keep reading.
I. Before We Begin
If your Nexus 7 is not totally bricked then Backup everything that is IMPORTANT to you as the entire process will wipe any locally stored data. There are a few other prerequisites that we need to ensure is done but here’s an overview of what we will be doing:
- Install the Android SDK…[information will be linked here]
- Install Latest Java Runtime if required.
- Download and install the Windows ADB USB driver from here.
- Download the required factory image you want to install on your Nexus 7 from here.
- Un-zip and place the image in the correct folder.
- Open a command prompt as administrator and navigate to the [sdk]\platform-tools folder.
- Run a set of ADB commands to flash upload the image to the Nexus 7 and reboot.
- Unplug and start using your re-initialized Nexus 7 (Until the next major OS upgrade).
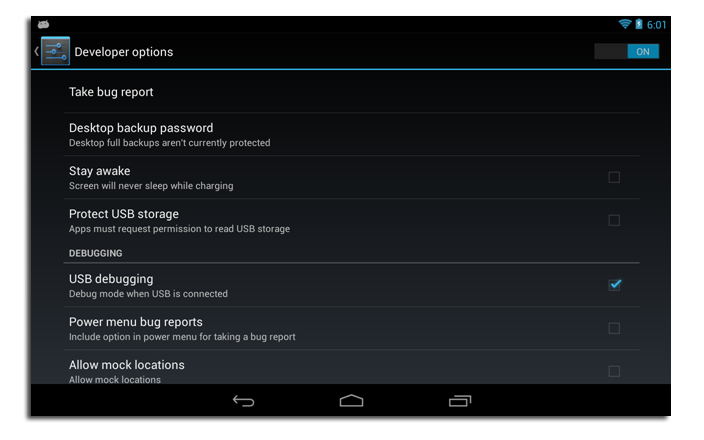
II. Enable Developer Mode
If you haven’t enabled developer mode on your device and it is still responsive then do the following steps:
- Go to the Settings Menu for your Device. Usually by swiping down from the top of the screen.
- From the Settings options scroll down to the ‘About Phone’ / ‘About Tablet’ / ‘About’.
- Find the Build Number and tap it 7 times.
- A message will be displayed informing you that ‘You are now a Developer’.
- Back at the Settings Menu there is a new Developer Options.
- Ensure that ‘USB Debugging’ is enabled and that is all you need to do for now.
III. Download the factory image you want to install.
There are several factory images for Nexus devices that you can get from here. Choose the right one for your device based on whether it is WiFi or WiFi+GSM. There will be various versions but I usually choose ‘Factory Images “nakasi” for Nexus 7 (Wi-Fi)’. You will be able to choose from Jelly Bean (4.1.2) to Lollipop (5.0.2)
To be Continued…
Next time we will look at Setting up the Tools and link your Nexus 7 to your PC or Laptop.